
In this article, I’m discussing Do It Yourself smart home alarm systems.
I’ll go over what to look for when you purchase a new DIY smart home alarm system, including tips and tricks to installing one in your home.
I’ll talk about the good, along with the bad.
There has been a rise in the smart home alarm system.
Keep in mind, what the industry calls a security system, I argue should really be called an alarm system because the system doesn’t really provide physical security – just an alarm to alert you to a problem.
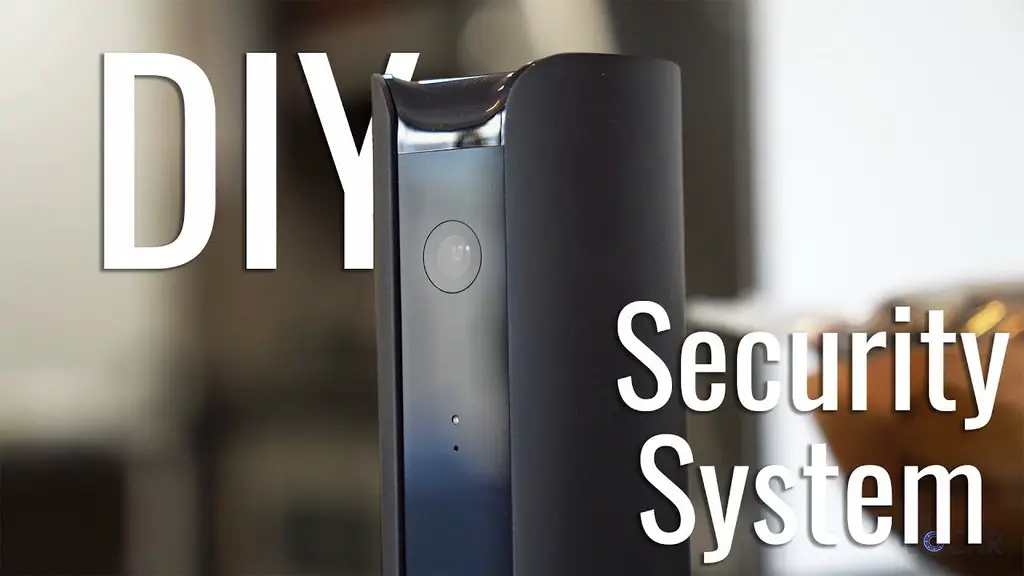
ADT, which is famous for being a professional installed monitoring alarm company, has released a product called Blue.
Blue is a wireless system with LifeShield that comes in the mail and that the user installs every aspect of the system and connects it to ADT’s monitoring via high-speed internet connection.
This, along with the success of SimpliSafe, really signals a shift in the alarm system market.
Major home alarm systems companies have moved to Do It Yourself systems that can be professionally monitored.
This costs less for consumers and it really hits on the rise of the smart home product.
Benefits
Easy to install
If you can install an Amazon Echo, then you have what it takes to install an alarm system.
I remember the installation of my first wireless alarm system. A monitoring company professionally installed this.
The technician came with all the pieces like the touch pad, the camera, and all the door sensors.
Then he pulled out his laptop and then went to work.
I noticed how easy it was to install the wireless system because all the devices like the motion sensors were attached by double-side tape.
Once I watched him put up one – and they were all the same – thought to myself ‘I can do this!’
Now, what I didn’t know was how to set the network and the back end to make everything talk to each other.
That’s a lot of proprietary information but companies have now made that really easy.
And if you don’t want to install one of these systems yourself usually the companies have contracts with tech installers near you that will come and do the install for you.
But these people probably aren’t security experts – they are I.T. guys that travel so you might be better researching this and doing it on your own.
Costs less
Another positive aspect of this DIY shift is the pricing seems to be the same across the board.
Companies will generally sell you a package with so many devices in it and a monitoring tier.
You can opt out of the monitoring, which I don’t recommend.
Believe it or not, there are actual regional alarm companies who don’t put their prices online because they want to give you a custom quote.
Part of this quote is so you can provide you SSN so they can run your credit score, and depending on your credit score, you pay a different price (good or bad).
Personally, I think pricing should be the same for everyone. It is the same device and same monitoring service, so why should people be paying a different price for it?
As consumers, our alarm systems are getting smarter and companies are adapting. If you can peel off the double-sided tape and connect the devices to your Wi-Fi you can install your own wireless alarm system.
How to research a new DIY smart home alarm system?
When you first start your research be aware of the reviews that you read.
If you Google ‘best smart home security system’, you are going to get a heap of ads in your results.
Make sure you read reviews from credible sites.
What to look for in a new alarm provider?
When you are looking at a new alarm provider, know who is going to be doing the monitoring for that provider – not every provider will monitor the system that they sell.
Many third-party monitoring companies will cater to all sizes of alarm system providers. That isn’t a bad thing – just know who is going to be watching your house when you’re gone.
Packages for monitoring may vary very little from company to company. Don’t make the error in thinking that tech support is the same.
The availability of online or phone tech support varies from company to company and this is important to know because you are the customer, the installer and the repairer.
You are going to want people that can help you 24/7.
The average starter package for these DIY smart home alarm systems generally consist of a base station, entry sensors for doors and windows, a motion sensor and a camera.
This really speaks to the flexibility of these systems, that you can customize your system based on your home and your comfort level.
You can also add more sensors as you go.
But you need to make sure that every point of entry for your home is covered, and that means all exterior doors and windows.
Obviously, for doors the typical two-part entry sensor will work just fine.
These entry sensors can also be used on windows and they will trigger when the window is opened. However, if someone smashes the window and enters without actually moving the window frame then the sensor will not alert.
In this case, you can cover your windows with a glass break alarm or a motion sensor. This is up to you. Just keep in mind that using an entry sensor on a window doesn’t fully protect the window.
However, if you were worried about a teenager sneaking out at night or a kid hopping out through the window an entry sensor on that window would be very useful.
Monitoring tiers
Most companies will have a premium monitoring tier with extra cloud storage and a bell and whistle, and that will cost the most.
There is also the basic monitoring tier that covers everything you need i.e. 24/7 monitoring, app usage and same cloud storage.
The basic package is where most people are going to sign on and this is the minimum level that you need to get.
Lastly, there is a self-monitoring tier where no one is monitoring your system. That means if something goes wrong, the system will send an alert to your phone and that’s it. It is then up to you what to do from there.
This will save you money but it isn’t a good idea.
Opening the box of your new DIY alarm system
So let’s say now you’ve picked out your new system, you’re all excited about it and you’ve gotten a box in the mail, and you’re ready to go…
I would suggest that you devote at least half a day to getting this up and running and don’t do it in a hurry like the day before you leave for vacation. Take some time to get this right.
Removing your old alarm system
Before you start your install, you have to remove your old system first.
How are we going to do that? It is actually not very hard at all.
When you are removing an old wireless alarm system, what you need to do first is unplug the router that comes with the system. This will shut down everything else.
Chances are you have a separate hidden network that runs off a router or a base station that the first alarm company installed.
Simply unplug the power cables and the network cables and put them aside. This will report an outage to that company but they won’t know what it means – it could just be a power outage.
If they call just say you are doing maintenance and that you are aware of the problem, which is true.
At this point you are probably wondering why I haven’t told you to cancel the old alarm company. Let’s hold onto that old alarm system for about a week to make sure the new works first.
Once you’re happy with the new one then you can cancel the old one and return the hardware. I don’t want you to be stuck for a week or so with nothing.
Now that the network is offline you may still need to worry about cellular backup on the base station or on the keypad.
So then unplug that old unit and remove the battery from it. This has essentially neutralized your old system.
Now you get down to the business of removing the old sensors. To kick things off, let’s remove a door sensor first.
At the top, there are two parts. We need to get both of these because we are going to install the new sensor right there in its place.
To remove the double-sided tape, I have found that a hair dryer on high heat for a few minutes will provide a good amount of heat that will loosen the stickiness of the tape where you can pull it right off by hand or scrap underneath it with a putty knife.
Don’t worry about taking both sides of the tape off. Just focus on the side that is attached to your house. These should peel off easily but take your time just to be sure.
Motion or fire sensors may be attached to a drywall, again the hair dryer will work fine here. Just make sure you go slow so that you don’t rip the paper off the drywall.
If you have a streaming camera, you need to unplug the power then remove the brackets from the wall.
Then set everything aside in a box. You’ll return it later.
Installing your new DIY alarm system
Now that you have a clean slate, it’s time to get your new DIY smart home alarm system installed.
Before you get to sticking sensors to windows and doors and your children, make sure you read any instructions or watch any install videos that you can from the manufacturer.
Then look on YouTube to see if anybody else has done an install before and see what they did. You can learn from it good and bad.
The first thing you’ll need to do is get the new base station up and running. This is how all the sensors communicate with each other and the information is sent to the monitoring company.
Most of these will be as simple as plugging in an Ethernet cable and then powering the unit by plugging it into the wall.
You may be working with an app or an online set up that will walk you through these steps.
Once the base station is good to go, you can start having fun.
Unless you’re instructed to do otherwise, I suggest installing a door sensor first.
Measure out the distance between the two sensors before you stick them to the door to make sure it is going to within range that the manufacturer wants. If not, this could cause the sensors to trigger when a door opens and cause a false alarm.
Also, see if you can open the sensors to check the battery types then order some from Amazon to have some on hand. Here’s an article on the best batteries which can also be used for your DIY alarm sensors.
Install all the same sensor types in groups that way you’ll get into a groove that will make installation easier.
If you misplace a sensor and you have to pull it off, just have some double-sided tape on hand so you can replace it. I recommend using 3M.
Next up, let’s discuss motion sensors. These can be installed in corners or on flat walls. Make sure you know the correct height for your type of motion sensor.
Not all motion sensors are the same.
Some allow you to make accommodations for pets based on their heat signature and their weight.
This can be done on the app or online but not all systems have this type of motion sensor.
If you have a lot of pets you’ll need to research this first. Make sure you know what you are buying.
A hack you can use to keep your pets from accidentally triggering the system is to mount the motion sensor upside-down. If you do this at the mid-point of your wall, you can avoid your pets setting off the alarm.
Sensors work from the top and they expand down as they go.
These sensors are meant to be placed 7 to 9 ft. in the air. But these sensors can be mounted upside-down and the range will expand upward toward the average human height.
This way you can avoid the lower range where the pets are.
Some of you may be thinking ‘what if someone breaks into my house and crawls on the floor?’. Well, that’s something to consider.
Once you’ve installed your new DIY smart home alarm system
Once everything is installed and working, know there still may be some kinks to work out.
Realistically, don’t expect this system to run flawlessly for the first few days. It will take time for you and each member of your house to learn it.
Be sure to customize the alarms and chimes just like you want.
Don’t think all the controls are just on the app on your phone. Log on online to see if there are some advanced settings that you can use.
When your system is new make sure you test the key Fob, the keypad, the app and all the other devices that will arm and disarm your system. That way you’ll know how they all work, you won’t be nervous about it and everything should be up and running quick.
Use these first few days to answer any of the questions that you have and don’t be afraid if you set off the alarm in the first week. It happens!
Wait until the monitoring company calls and let them walk you through the process to make sure everything is ok. So take advantage of this mistake.
The benefit of doing this yourself is not only to save money but to learn how your system works.
You now know how each sensor works and how also it can be exploited.
Make sure you break out that adversarial mindset and think like a bad guy when you’re installing your new DIY smart home alarm system. Look for gaps in coverage and work on how to secure those.
